EASY TO INSTALL FLASHING FOR ROOFS

Easy installation wakaflex

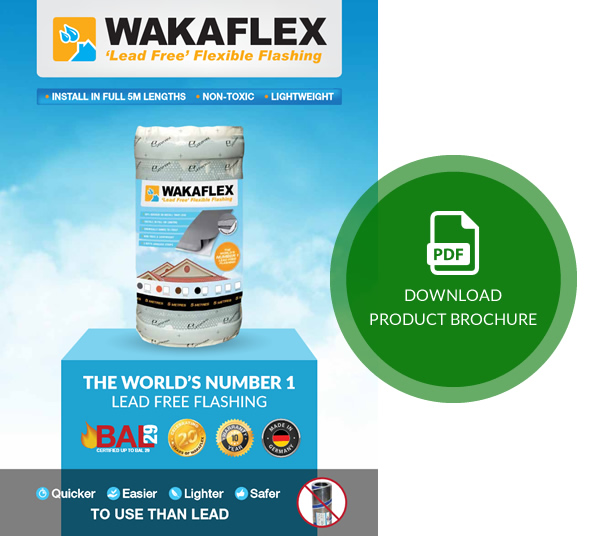
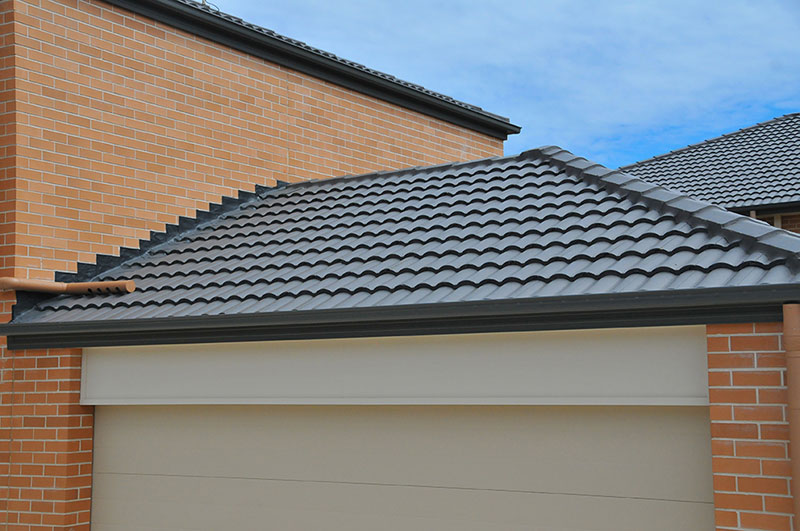
Wakaflex is Australia’s leading lead free flashing for roofs and is suitable for nearly all roof profiles and types including tiles, metal and polycarbonate. Wakaflex is quick and easy to install with no specialist tools required is just scissors or a Stanley knife are all you need.

Wakaflex Installation Procedure

  • Form Wakaflex to basic shape required before removing the backing strip.
  • Turn Wakaflex over, retaining basic shape.
  • Remove the first plastic backing strip.
  • Place Wakaflex into required position and dress into the profile of roofing material using hands..
  • Lift Wakaflex slightly and remove remaining plastic backing strips.
  • Wakaflex MUST always be chased or built into brickwork or ‘over-flashed’.
  • Wakaflex must be firmly dressed down to the substructure it covers to ensure there is no cavity or airspace beneath it.
  • Wakaflex should always be protected after installation until all construction works in the area are completed (i.e. render, painting etc) in order to protect the surface.
  • Painting if required should be carried out after Wakaflex has been formed and fixed to roof profile. Water based outdoor acrylic should be used.
  • Wakaflex should be installed vertically for step flashing with a horizontal Wakaflex soaker. Abutment flashings should also be installed horizontally.
  • For further information regarding the installation of Wakaflex please call the distributor, Evo Building Products on 02 9666 1069.
  • Overlap/Joining – Wakaflex should be overlapped by 30mm on all joints. Pressure should be applied by hand to ensure a good seal. The pieces will permanently bond together in 20-30 minutes.

Wakaflex Roof Flashing Demo

Wakaflex takes up to 50% less time to install than traditional lead flashing. Compare the quick and easy installation of Wakaflex with lead roof flashing in this short demonstration video:

Find out more about Wakaflex lead free roof flashing, including product features.

Menu